
티스토리 뷰
tensorflow-in-windows (1/2)
- this post covers
- install python using anaconda
- install tensorflow-cpu, which supports cpu only
- install vs-code, which can be used for editor
- next post covers
- install cuda
- install tensorflow-gpu, which supports gpu too
- environment
- Windows / 10
anaconda-and-python
- it is used for encapsulating python environment
- like the purpose we are using vm-ware
- when you install python directly on the system, it is hard to add other version of python
- the PATH environment variable can be conflicted
- in this situation, we gotta create virtual environment for each version of python
- the environments do not affect each other

- visit here to download the installer for windows
- do not forget to click "Windows" button
- version of python does not matter when you choose the installer
- if your system is Windows 10 64 bit, download the "64-Bit Graphical Installer" of any version of python
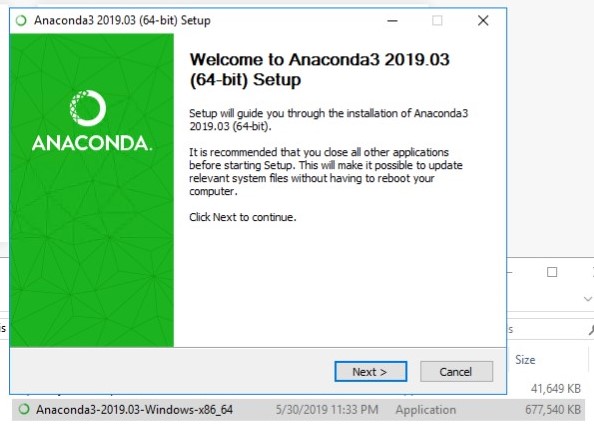
- execute the installer and follow default options

- when the installation is over, click the search bar
- type "anaconda prompt" and run it
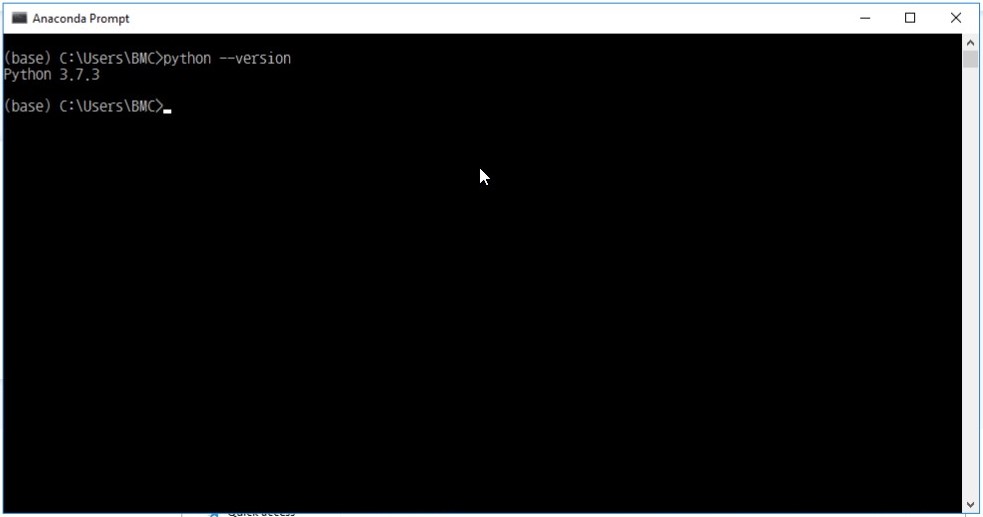
- you can see the prompt with "(base)"
- anaconda prompt displays the environment name which you are using
- the version of python would be that in the installer description
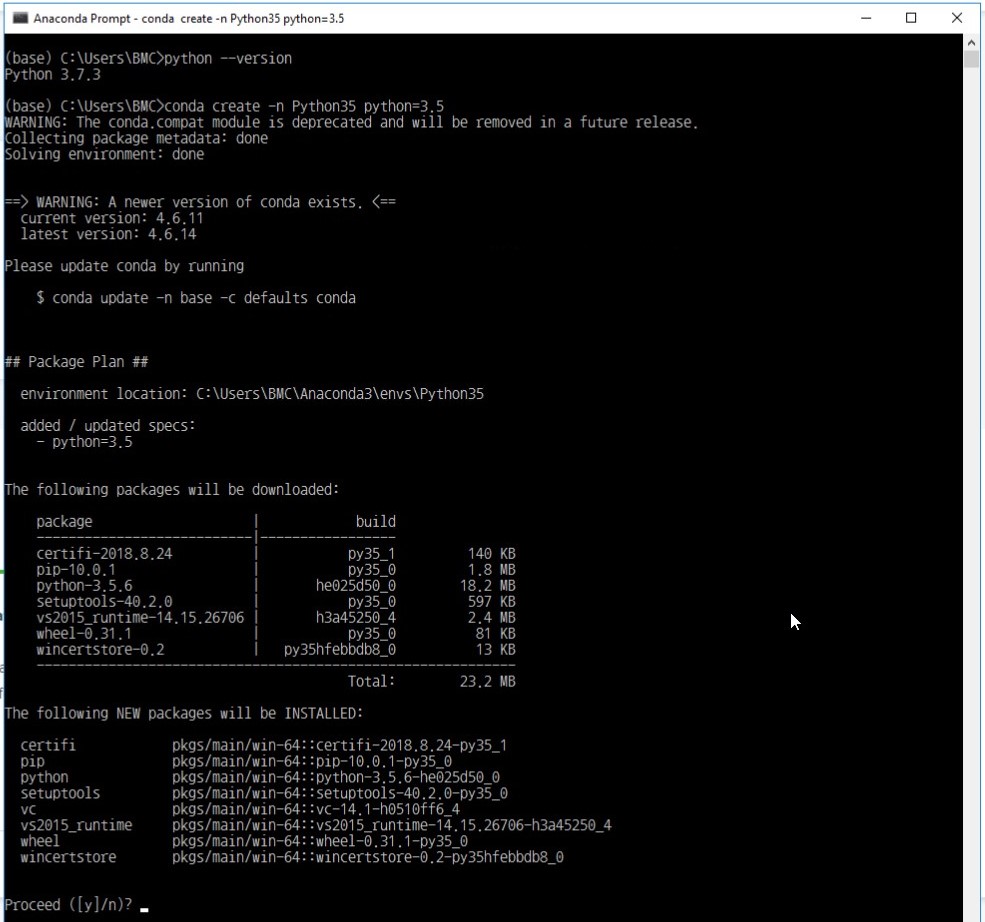
- now let us create new environment with python 3.5
- type "conda create -n Python35 python=3.5"
- this will make an environment with its name is "Python35"
- when the task done, you can checkout the environment
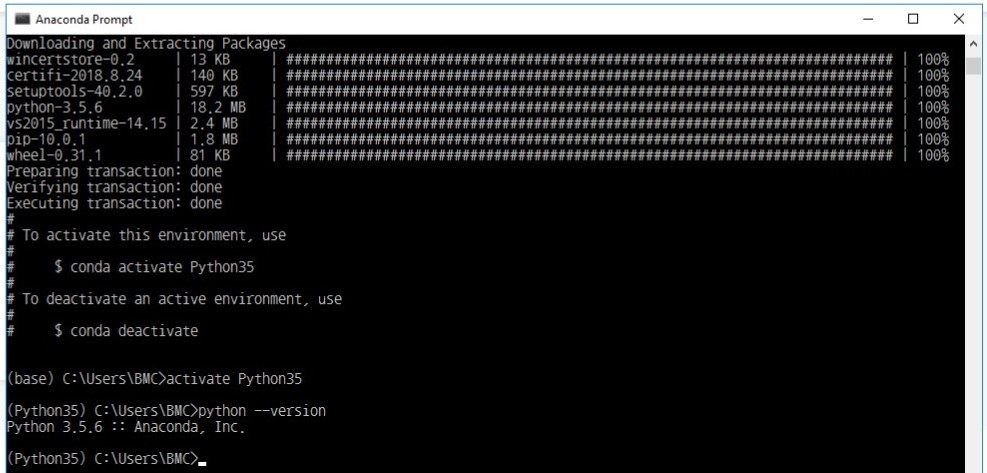
- type "activate Python35"
- now you can see the prompt with "(Python35)"
- the version of python would be 3.5.X
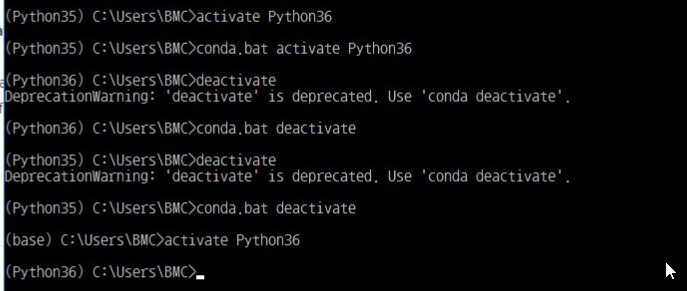
- if you return to previous environment, type "deactivate"
- the "activate" and "deactivate" works like stack
tensorflow
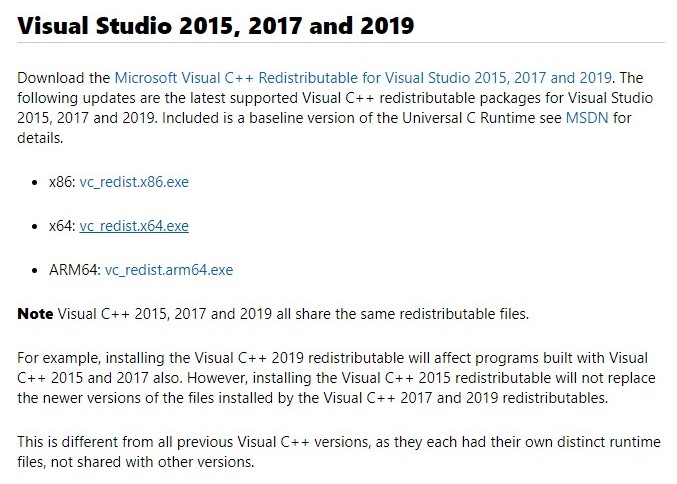
- if you do not have visual-studio-ide, visit here and download the appropriate redist.exe
- if your system is Windows 10 64 bit, download the "x64: vc_redist.x64.exe"
- execute the redist.exe
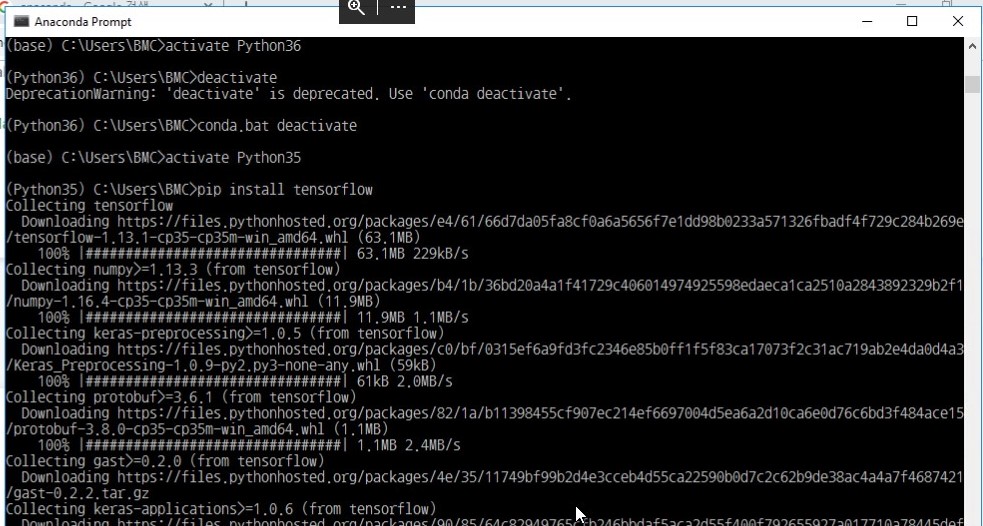
- opened the anaconda prompt, enter the environment Python35
- type "pip install tensorflow"
- this will install the latest tensorflow-cpu fits in current python
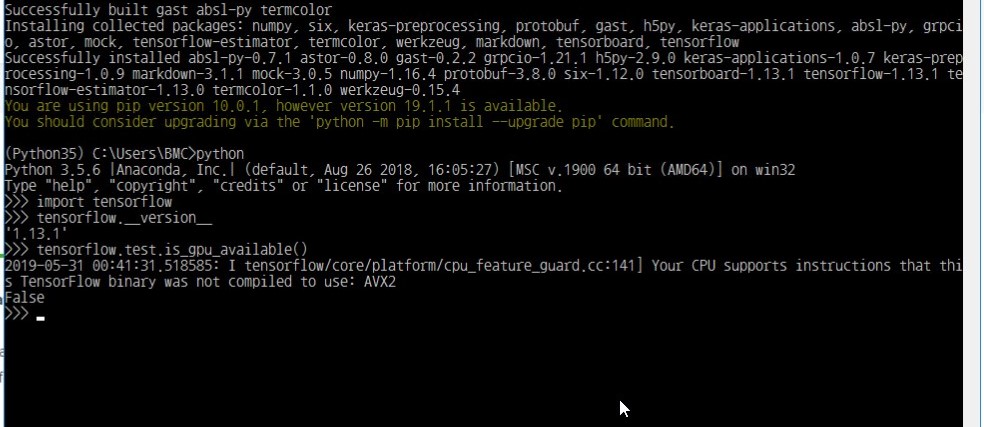
- run the python and check the version of tensorflow
- you can check whether the tensorflow supports gpu with "is_gpu_available()"
- now you successfully installed tensorflow-cpu
vs-code
- though there are plenty of python editors, I recommend you the vs-code
- it supports anaconda well
- it runs python with light weight

- visit here to download the installer for windows
- click the download button
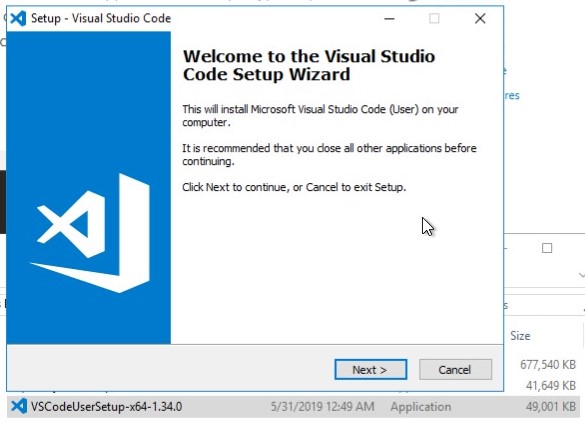
- execute the installer and follow default options
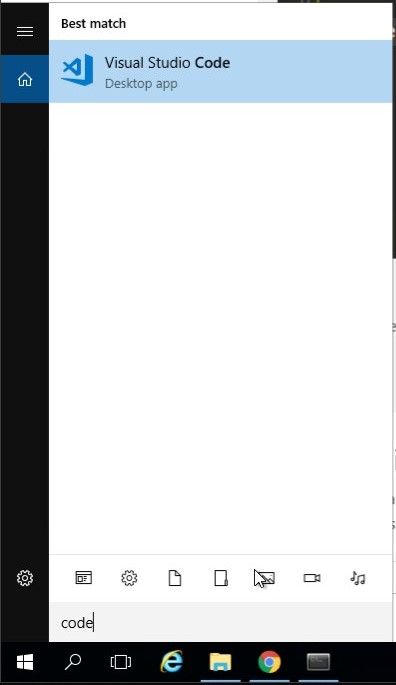
- when the installation is over, click the search bar
- find the "Visual Studio Code" and run it
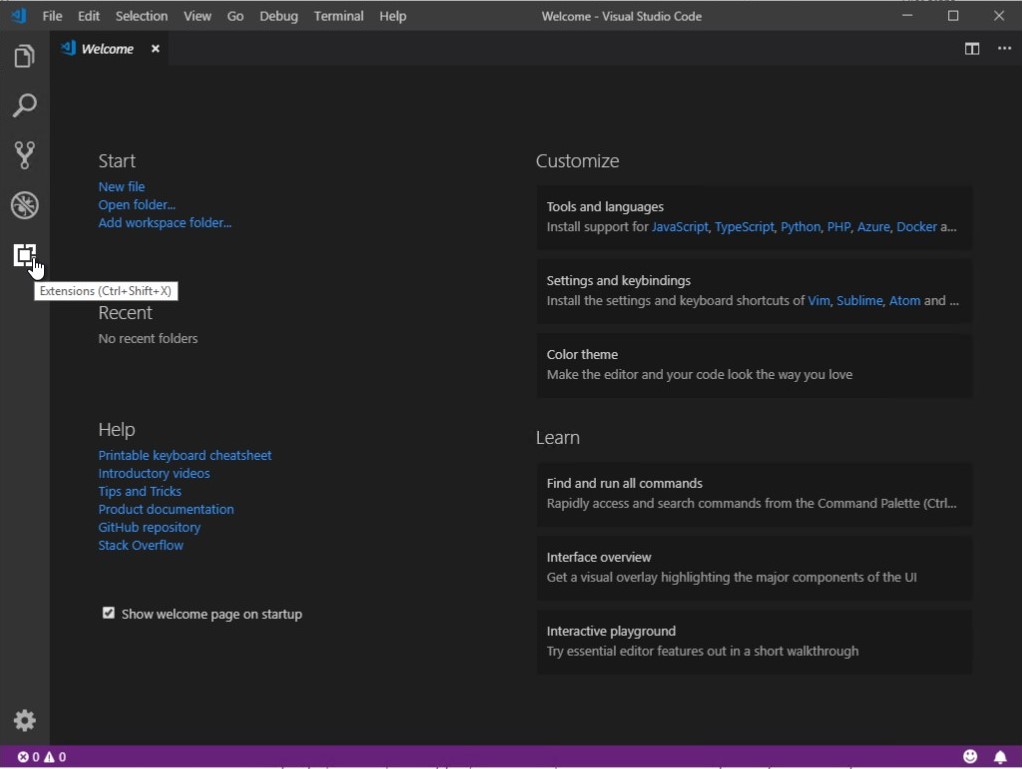
- click the extension tab
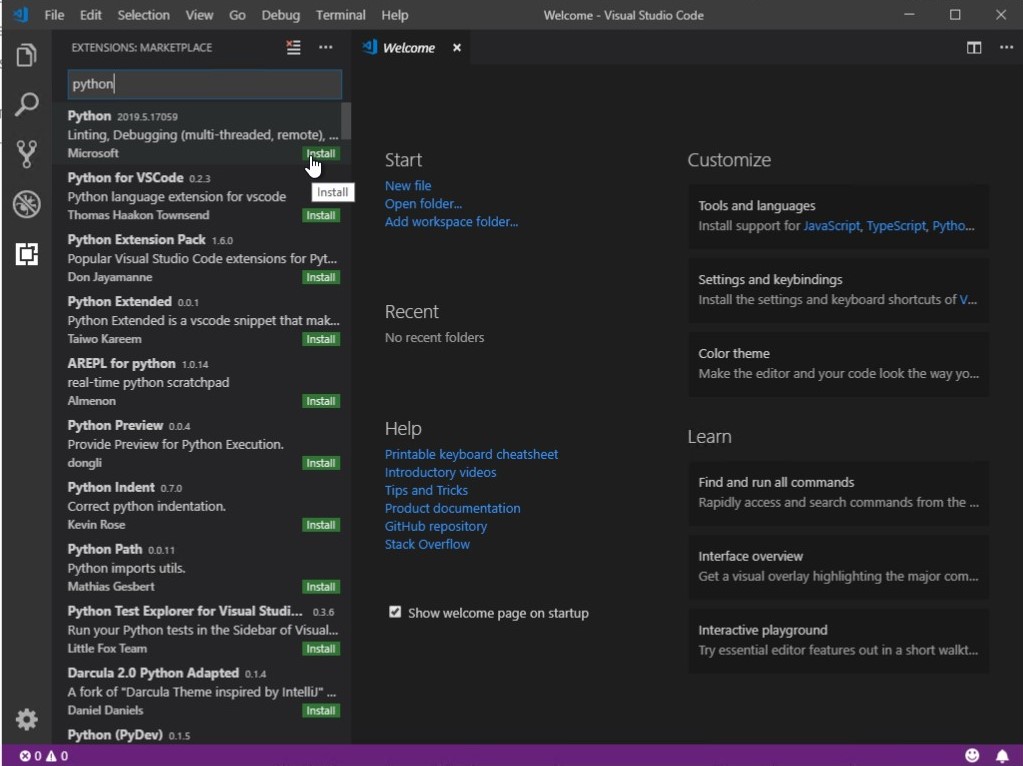
- type "python" and find the python extension
- click the install button
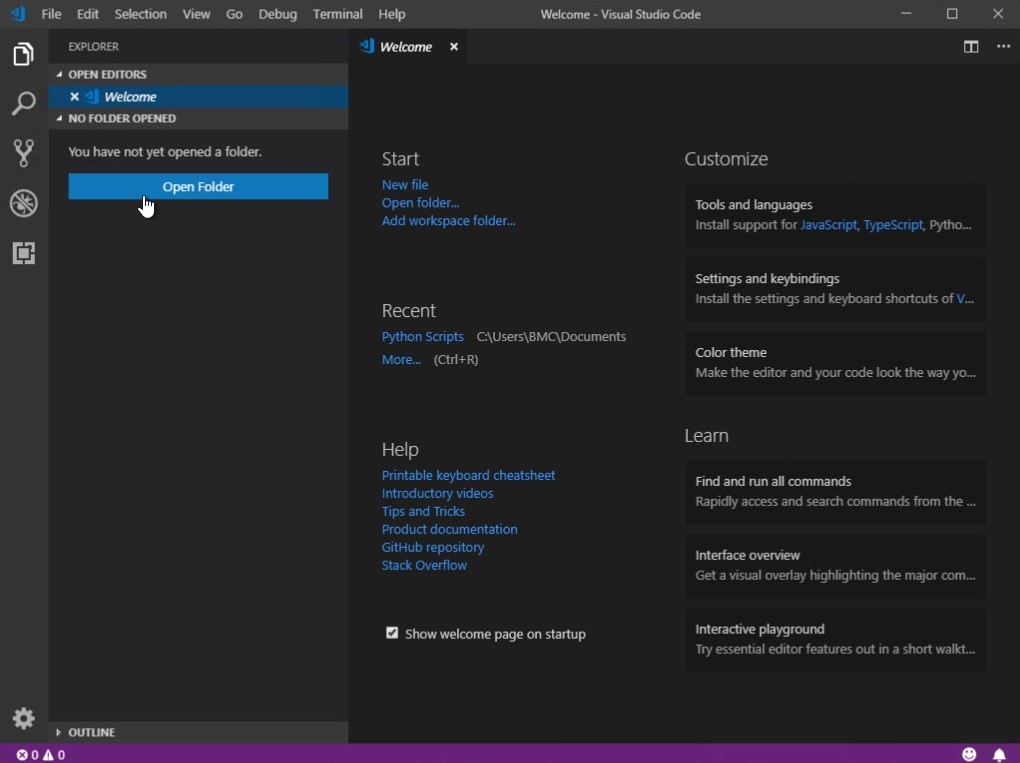
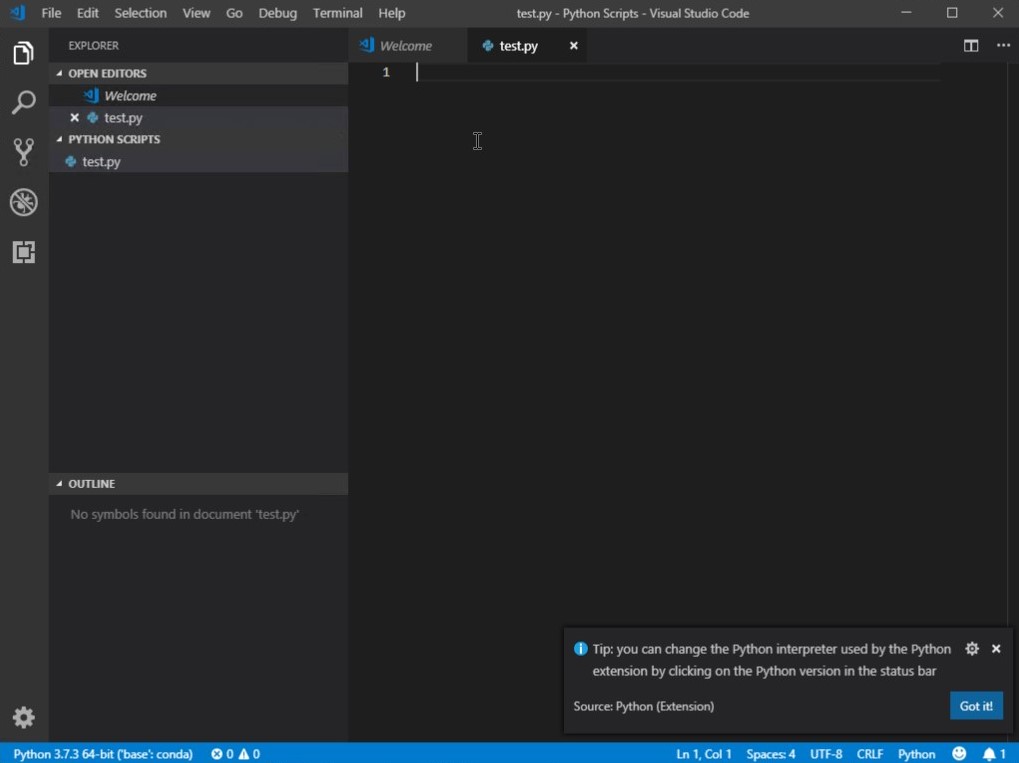
- when it installed, open any workspace
- make an empty python file

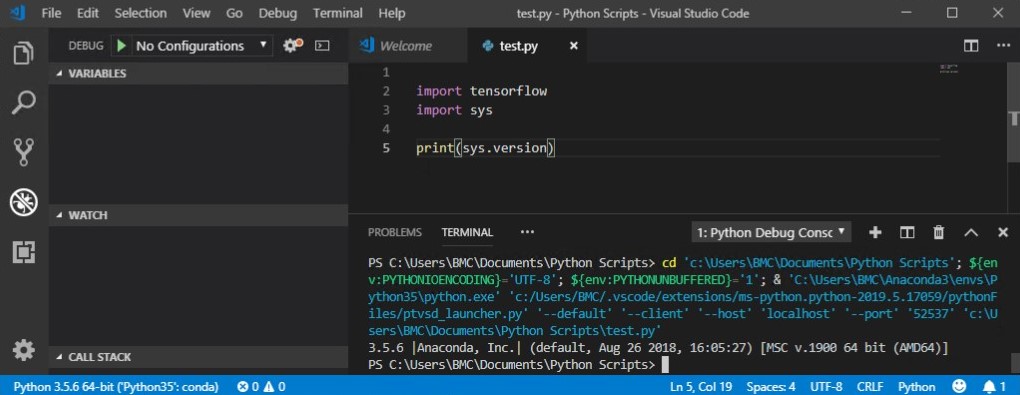
- now you can see current environment at the left-bottom
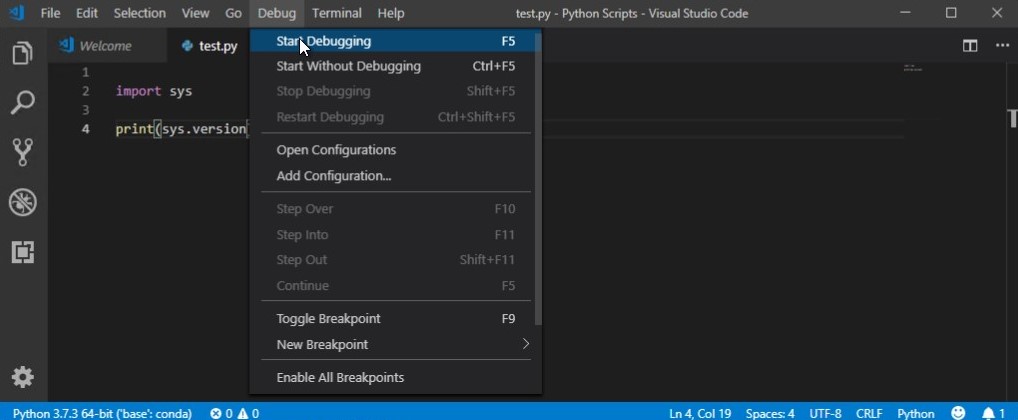
- whenever you compile the python file, the python will be used
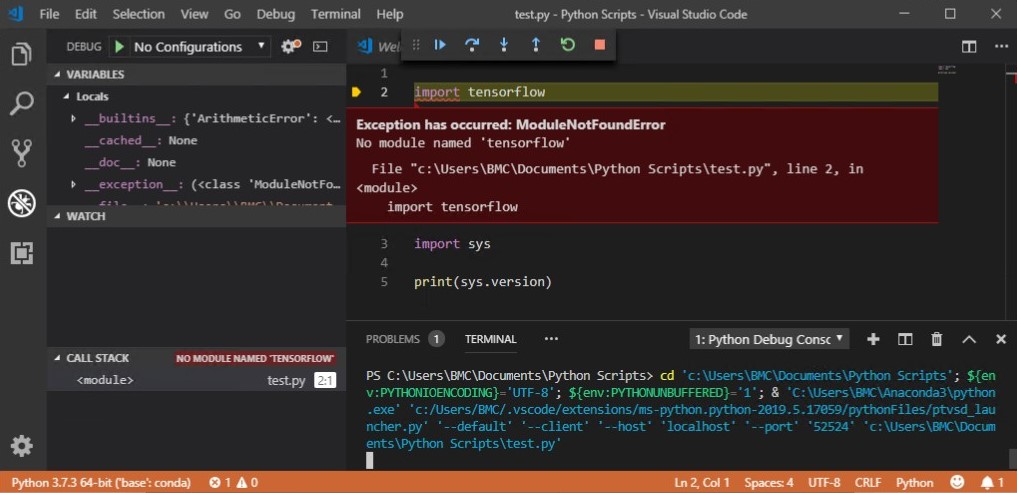
- check the import on tensorflow
- if you did not install the tensorflow at base, debugging would fail
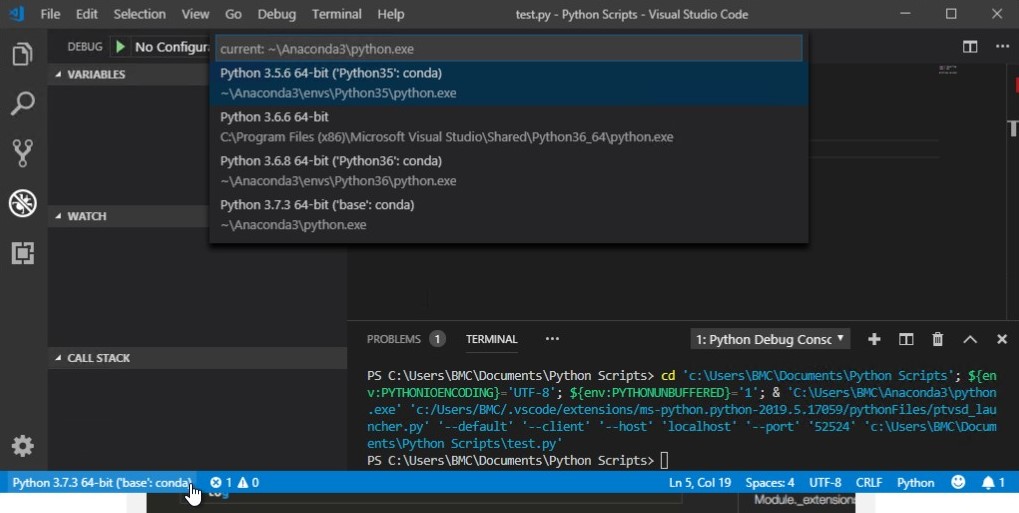
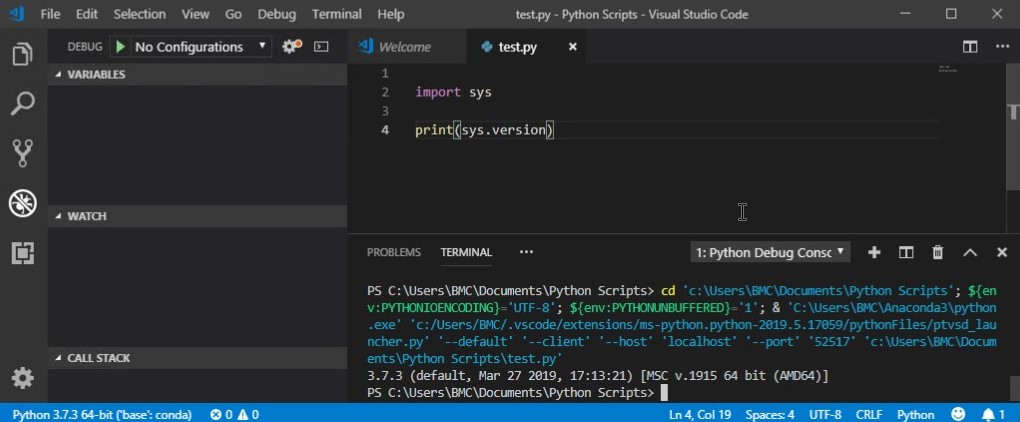
- click the left-bottom and change the environment
- we installed tensorflow at Python35
- you can see the debugging successfully done
'Computer Science > Artificial Intelligence' 카테고리의 다른 글
| tensorflow-custom-op (1/2) (0) | 2019.07.07 |
|---|---|
| tensorflow-in-windows (2/2) (0) | 2019.06.07 |
| Introduction to A.I. (5/5) (0) | 2018.11.01 |
| Introduction to A.I. (4/5) (0) | 2018.10.26 |
| Introduction to A.I. (3/5) (0) | 2018.10.19 |
공지사항
최근에 올라온 글
최근에 달린 댓글
- Total
- Today
- Yesterday
링크
TAG
- Game
- WindowAPI
- vscode
- Anaconda
- C/C++
- CUDA
- pclaf
- ATOM
- Docker
- tensorflow
- windows
- unreal
- dll
- A.I.
- JIT
- CAFFE
- git
- visualstudio
- Hashtable
- NOX
- visual-studio
- lib
- csharp
- unity
- DirectX
- Python
- cuDNN
- PopeTV
- shader
- Slack
| 일 | 월 | 화 | 수 | 목 | 금 | 토 |
|---|---|---|---|---|---|---|
| 1 | 2 | 3 | ||||
| 4 | 5 | 6 | 7 | 8 | 9 | 10 |
| 11 | 12 | 13 | 14 | 15 | 16 | 17 |
| 18 | 19 | 20 | 21 | 22 | 23 | 24 |
| 25 | 26 | 27 | 28 | 29 | 30 | 31 |
글 보관함